Custom wine bottle engraving is a great way to show your loved ones how much you care. It can also be a fun way to celebrate special occasions. If you’re new to custom wine bottle engraving, don’t worry. We’ll walk you through the process step-by-step before you look for “engraved party favors”.
Step 1: Choose the Right Engraving Method
There are a few different engraving methods available, and each has its own advantages and disadvantages. The most popular engraving methods are laser etching and engraving by hand. Laser etching is the most common, but it can be expensive and time-consuming. Engraving by hand is cheaper but less accurate.
Step 2: Write Your Message
When writing your message, be sure to use simple and straightforward language. Try to keep your message short and sweet. Avoid using too many words or making it complicated. Keep in mind that your wine bottle engraving will likely be seen by others, so make sure your engraving is legible and easy to read. Finally, be sure to proofread your engraving for mistakes before you submit it!
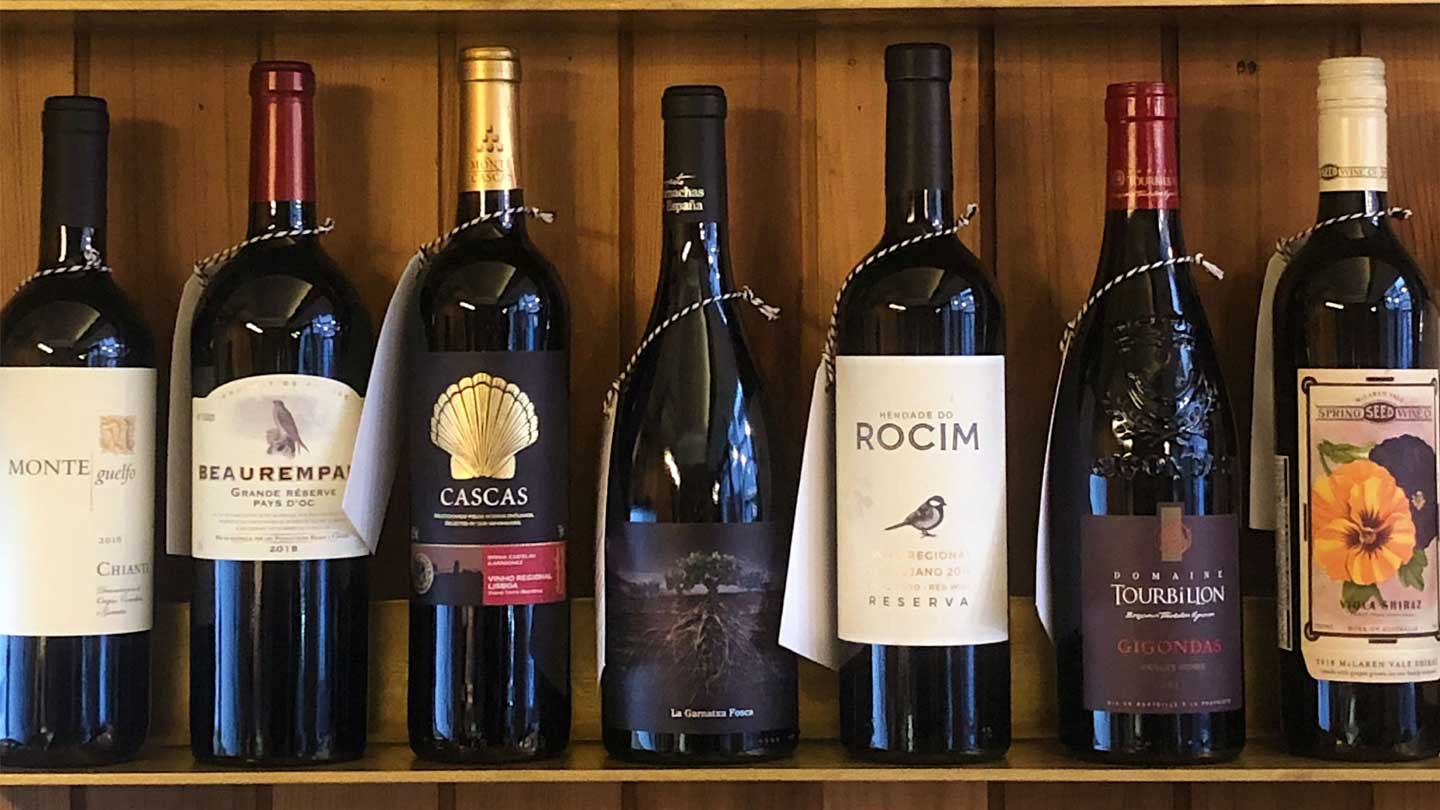
Step 3: Choose the Right Container and Design
The third step is to choose the right container. There are many different types of wine bottles on the market, so it is important to find the right one for your project. Some popular choices include Glass, Plastic, Metal and Ceramic.
Each has its own advantages and disadvantages, so it is important to choose one that will fit the feel of your design and the style of your wine bottle. For example, glass bottles are good for intricate designs or ones that will be displayed prominently, while plastic bottles are good for simple designs or those that will be used regularly. Metal and ceramic bottles are good for both types of projects, but metal bottles can often be more expensive. Finally, if you’re looking for “wine bottle engraving near me” to create a custom wine bottle you should choose the perfect bottle that will fit the feel of your design and the style.
Step 4: Add Custom Wine Bottle Engraving Details
The final step in creating a custom wine bottle engraving is to add the details you want to appear on the label. This can be anything from your name or initials to a loving message. The easiest way to do this is by using a personal computer and a font software program. You can access these programs by going to your computer’s “start” menu and clicking on “accessories.” Then, click on “fonts” and select the program you wish to use.
Once you have selected your font, open up the document where you want to place your text and type in the text you wish to appear on the label. Once you have finished typing in all of your text, save the document and close out any open windows or programs. Next, take your personalized
Step 5: Review and Finalize Your Order
If you are satisfied with the results of your custom wine bottle engraving, you are ready to finalize your order. Review your order to make sure all information is correct and that the artwork is correctly formatted for printing. If there are any changes you need to make, make note of them on your order form and email it back to us for confirmation. Once we have received and confirmed your order, we will begin the process of creating your custom wine bottles!
With these five easy steps, you’ll be able to create beautiful custom wine bottle engravings that will perfectly reflect your unique personality and style.


